How to Install Rainmeter Skins [Automatically + Manually]
 |
| How to Install Rainmeter Skins [Automatically + Manually] |
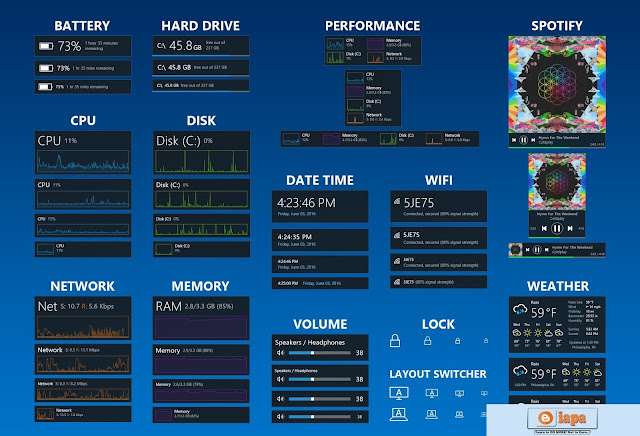
Salam Friends! Today we Guide you How to Install Rainmeter Skins, you all know Rainmeter is a free, open-source application for Windows PCs. It is a platform that enables skins to run on the desktop. For more Amazing Apps You can also get us on Facebook, Twitter and Plus me on Google+.
A skin can be many things. Some skins are very simple, single-purpose tools, like Windows desktop gadgets, or "widgets" on an Android device. Others are more complex, like miniature applications themselves. Some skins even come bundled in large "suites" and include their own tools for customizing their form and appearance, within or alongside Rainmeter's basic user interface. Every skin works differently, depending on the choices of that skin's individual author. If you only want to download skins from the Internet and use them as-is, then the answer is "none." Rainmeter provides a basic user interface for managing your library of skins, saving and restoring layouts, and changing basic settings such as a skin's location, transparency, and "always on top" behavior.
If any of the skins to be installed already exist, they will be moved to a Backup folder before installation. This may be disabled by unchecking Backup Skins in the Advanced pull-down menu.
Note: If Rainmeter is being run as a portable installation, start SkinInstaller.exe from the Rainmeter program folder, and browse to the .rmskin file to install it.
A skin can be many things. Some skins are very simple, single-purpose tools, like Windows desktop gadgets, or "widgets" on an Android device. Others are more complex, like miniature applications themselves. Some skins even come bundled in large "suites" and include their own tools for customizing their form and appearance, within or alongside Rainmeter's basic user interface. Every skin works differently, depending on the choices of that skin's individual author. If you only want to download skins from the Internet and use them as-is, then the answer is "none." Rainmeter provides a basic user interface for managing your library of skins, saving and restoring layouts, and changing basic settings such as a skin's location, transparency, and "always on top" behavior.
 |
| This dialog lists each component that will be installed. These may include: |
- Skins > At least one skin will always be included and installed in the Rainmeter\Skins folder. The author of the package may indicate that one or more skins will automatically be loaded when the installation is complete.
- Layouts > If the author has added a layout to the package it will be installed in the Rainmeter\Layouts folder. If Apply included layout is selected, the layout will be applied to Rainmeter following installation.
- Plugins > If the author has added custom plugins to the package the appropriate 32bit/64bit architecture version of the plugin .dll files will be installed to the Rainmeter\Plugins folder.
Note: If Rainmeter is being run as a portable installation, start SkinInstaller.exe from the Rainmeter program folder, and browse to the .rmskin file to install it.
How to Install Rainmeter Skins Manually:
All versions of Rainmeter are 100% backwards compatible, so these older skins will still work just fine. Here is how to install them:- First of all, if a skin comes in an archive, such as a ZIP, RAR / 7Z file, software is needed to "extract" them. 7-Zip is one of the popular choices, since it can handle almost any archive type. After installing the software, right-click the archive in Explorer to extract it.
- The archive may include a readme.txt file with further instructions. If not, look for a folder with the same name as the skin - it might be inside another folder that is actually called "Skins". Move the folder to the Rainmeter "Skins" folder: C:\Users\YourName\Documents\Rainmeter\Skins
Note: "YourName" is an example. - All Done, right-click the Rainmeter Windows Notification area icon and select Refresh all. The new skins will now be available to load from the Manage window or context menus.
Download Links Below:
4.1 Beta Release (r2838):
You liked this article? Please, share this...
Seriously. It helps a lot with the growth of this blog.
Most of the readers don’t share as they feel that us bloggers don’t require their “tiny” social share. But here’s the fact. I developed this blog piece by piece, your one small share at a time, and will continue encouraging me to do so. So I appreciate your support, my dear friends. It won’t take more than 5 seconds of your time. The share buttons are right here.


Tidak ada komentar